Friday, September 02, 2005

Finally finished the weapon. Now it's time for some action shots.

Image hosted by Photobucket.com

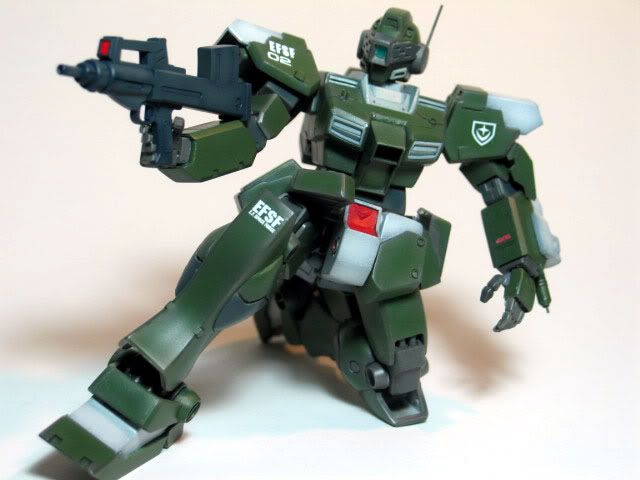
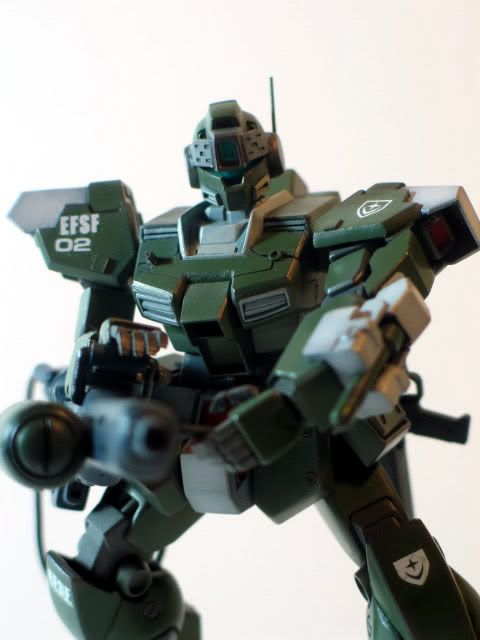
The BFG is an upside down 1/144 0083 Gerberatetra Beam Rifle. I shorten the back and trim the bottom of the rifle so I can mount the gun under the arm. The snake chain cable connects the gun to the energy pack.

Image hosted by Photobucket.com

The energy pack and maching gun holder is one piece that can be Mounted on the back skirt armor.

Image hosted by Photobucket.com

The machine gun serves as backup weapon once the energy pack is exhaused. The ammo pack is stored in the side skirt compartment. This is to avoid unintentional ammo detonation by the backpack exhaust.

Image hosted by Photobucket.com

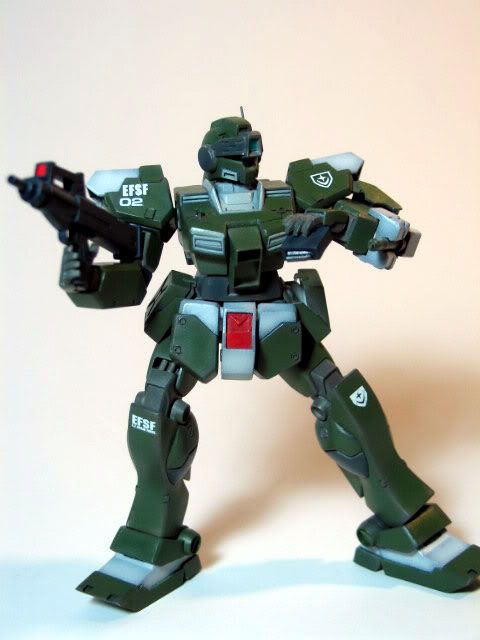
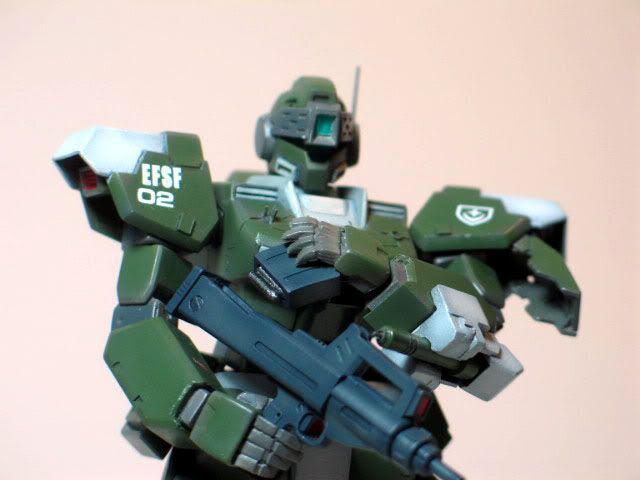
Original kit has fixed shoulder peg, which can be made mobile with some easy internal modifications. This greatly improves the arm mobility that allow the model to almost clip the ammo clip into the machine gun.

Image hosted by Photobucket.com

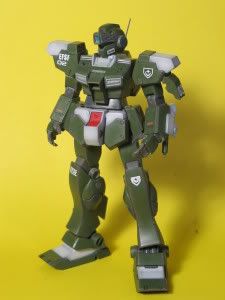
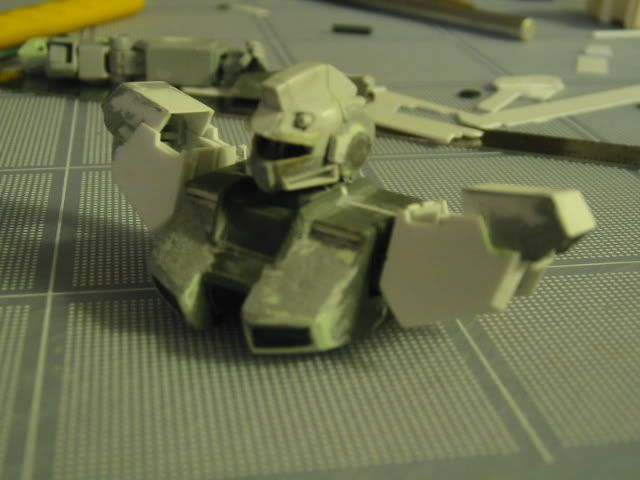
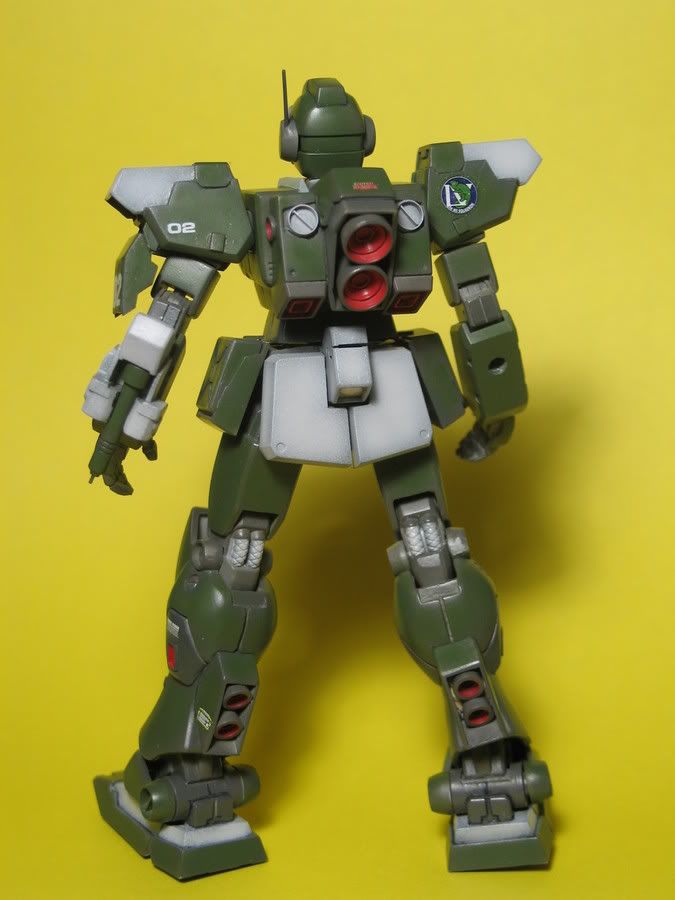
For a 1/144 model, I am pretty satisfied by the posability of this kit. The only thing I did to the knee is add a few mm inside of the knee joint. The waist is separated, and the hip joint are modified from two Kotobukiya double joints so they can swivel front to back. I think the latter two mods are just important as the knee joints in order to achieve the kneel pose.

Image hosted by Photobucket.com
I recently took a trip to Japan, which resulted slight increase of the back log of model. Therefore, it is time to finish some work in progress. This GM is inspired from the GM sniper II from Studio Reckless. I started the construction during July 2004 to October 2004. However, I let the kit stewed until last week to start painting it.
Image hosted by Photobucket.com

I started out from GM-command cold district kit. Originally I converted the RGM-79D head to a GM-C head. However, I opted for the sniper style head.
Image hosted by Photobucket.com
The shoulder armor is scratch built.

The sniper head can be conveniently converted from the GM command head. One can cut off the fore head camera to use as the visor camera. The two side knobs are Kotobukiya minus molds connected to the visor camera by two strips of 0.20mm styrene. After leaving the visor structure over night for the cement to dry, the detailings are done by 0.35mm styrene and Tamiya grey putty.
Image hosted by Photobucket.com

After cutting off the forhead camera, the hole on the head is refilled with epoxy putty. I did not like the vents on the sides of the face so I replace them with the ones I built from 0.35mm styrene. The top of the mouth piece are trimmed down by file.
Image hosted by Photobucket.com

The feet and ankle are also scrtchbuilt.
Image hosted by Photobucket.com
You can use the Evergreen styrene tubes to construct the ankle. An even number tube can fit into the next larger even number tube, I jammed a small glob of Sticktag between the tubes to increase the friction.

Dark gray is used as the base coat for all colors. Dark green shaded with gray are used on most parts and lighy greay are used on the shoulder, feet, neck base, and the face vents. The shading for the dark green by dark gray is not is noticable if I used dark blue as the base coat. Next time I should test out the shading on a piece of styrene instead of working it out in my head.

Image hosted by Photobucket.com

Image hosted by Photobucket.com

Image hosted by Photobucket.com